You’ve bought the LED strips. You’ve watched a few YouTube tutorials. You’re ready to transform your space with beautiful, modern lighting.
But when you step back and look at the finished installation… something feels off. The light looks spotty. You can see individual LED dots reflecting off your floor. There’s a messy wire hanging at the corner. And don’t even mention that gap where the strip meets the cabinet edge.
Here’s the truth no one tells you: a great LED strip installation isn’t about the strip itself—it’s about how you install it.
As a professional LED strip manufacturer, we’ve seen thousands of installations. The difference between a “cheap DIY job” and a “professional, high-end look” almost always comes down to avoiding these five common mistakes.

What it looks like: You see bright dots reflecting off your countertop or floor. The light is harsh and uneven. The strip itself is visible, which breaks the “floating light” illusion.
Why it happens: You peeled the adhesive backing and stuck the strip directly onto the surface. That’s it.
How to fix it: Use an aluminum channel with a diffuser cover.
A diffuser is a frosted or milky cover that sits over the LED strip. It does two things:
Blends the light: Individual LEDs disappear, creating a continuous, seamless glow.
Cools the strip: Aluminum channels act as heat sinks, which extends the lifespan of your LEDs.
Protects the strip: Especially important for outdoor or kitchen installations where moisture or grease is present.
Pro tip: If you want that “built-in” look, choose a recessed channel that sits flush with your drywall or cabinet surface. For a modern, floating effect, use a surface-mounted channel with sharp edges.
What it looks like: A gap where the strip ends before reaching the corner. Or worse—a strip bent at a sharp 90-degree angle with a visible bulge in the middle.
Why it happens: LED strips are flexible, but they don’t like being folded in half. Many DIY installers try to bend them around corners, which stresses the PCB and can damage the copper traces or solder joints.
How to fix it: Use corner connectors.
There are two clean ways to handle corners:
L-shaped connectors: Pre-soldered or solderless connectors that join two strip segments at a perfect 90-degree angle.
Wire jumpers: If you need to go around an obstacle (like a cabinet hinge), use a short length of wire to “jump” over it.
Never bend a strip around an outside corner. It looks unprofessional and will likely fail over time.
What it looks like: A beautiful strip of light… with a thin red and black wire dangling down to the power outlet below. Or wires running across your cabinet tops where everyone can see them.
Why it happens: You didn’t plan where the power supply and wiring would go before you started sticking things down.
How to fix it: Plan your wire routing before you install.
Here are three ways to hide wires professionally:
Drill small passthrough holes: In cabinets, drill a 6mm hole behind the strip location to feed wires through to the inside of the cabinet where the power supply can be hidden.
Use wire channels (trunking): Match the color of your walls or cabinets. These stick-on channels hide wires and look much cleaner than loose cables.
Choose the right power supply location: Place your power supply inside a cabinet, behind furniture, or in a dedicated utility space. Use extension wires to reach the strip location so the power supply itself isn’t visible.
Pro tip: For kitchens and bathrooms, always use low-voltage wire (12V or 24V) for the run between the power supply and the strip. It’s safer and easier to hide than high-voltage wiring.
What it looks like: The light feels “off.” In a kitchen, it looks clinical and cold. In a bedroom, it feels harsh and uninviting. Or worse—you have two different white tones next to each other and they clash.
Why it happens: You bought whatever was on sale without understanding color temperature (measured in Kelvins).
How to fix it: Match the color temperature to the room’s purpose.
| Color Temperature | Kelvin | Best For |
|---|---|---|
| Warm White | 2700K – 3000K | Bedrooms, living rooms, dining areas—anywhere you want a cozy, relaxing feel |
| Neutral White | 4000K – 4500K | Kitchens, home offices, bathrooms—task-oriented spaces where clarity matters |
| Cool White | 5000K – 6500K | Garages, commercial displays, retail—where you need maximum visibility and a modern look |
Pro tip: If you’re not sure which to choose, 3000K is the safest bet for most residential applications. If you want flexibility, consider tunable white strips that let you adjust color temperature with a remote or smart controller.
What it looks like: The strip lights up, but the end farthest from the power source is noticeably dimmer. Or worse—the strip works for 10 minutes, then starts flickering or shuts off completely.
Why it happens: You underestimated how much power your strips actually need. Voltage drop (for 12V strips over 5 meters) or an undersized power supply are the usual culprits.
How to fix it: Calculate your power requirements correctly.
Here’s the simple formula:
Find your strip’s wattage per meter (e.g., 10W/m)
Multiply by total length (e.g., 8 meters × 10W/m = 80W)
Add 20% buffer (80W × 1.2 = 96W)
For long runs (over 5 meters): Run power injection from both ends, or upgrade to 24V strips, which experience less voltage drop over distance.
If you want to take your installation from “good” to “wow,” add smart controls.
A smart controller allows you to:
Smart controls not only improve usability but also extend the lifespan of your strips by allowing you to run them at lower brightness most of the time.
LED strip lights are one of the most versatile lighting tools available. But the difference between a disappointing DIY project and a professional-looking installation comes down to the details: using channels, planning your corners, hiding wires, choosing the right color temperature, and sizing your power supply correctly.
The good news? All of these fixes are simple and affordable. A few dollars spent on aluminum channels and connectors can turn a $50 strip into what looks like a $500 custom lighting installation.
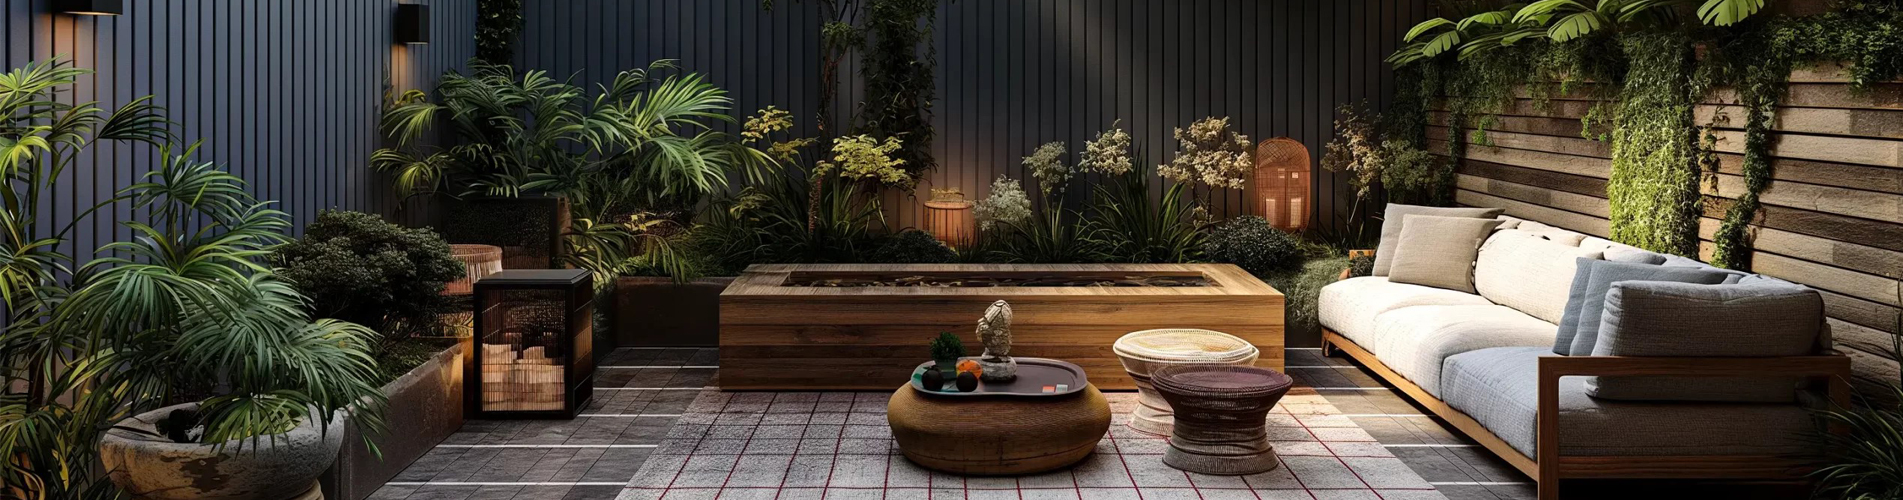
Ready to do it right the first time? Browse our selection of LED strips, aluminum channels, connectors, and power supplies—all designed to work together seamlessly. Whether you’re lighting a kitchen, a home theater, or an outdoor deck, we have the components you need for a professional finish.
Not sure which accessories you need for your project? Check out our installation guides or contact our team—we’ll help you plan the perfect setup.

 Our Store


 IPv6 network supported
 English
 français
 español
 العربية
 한국의
한국의